If you’re hunting down the perfect fresh cherry crisp recipe, you’ve landed in the right kitchen. This easy-to-make, summer-inspired dessert lets juicy cherries shine under a buttery oat topping that crisps up golden and fragrant. Whether you’ve just hauled in a basket of cherries from the farmer’s market or picked your own from the backyard tree, this recipe is your go-to.
Table of Contents
The Story – My Fresh Cherry Crisp Recipe
I still remember the first time I made this fresh cherry crisp recipe. It was one of those blistering July days just outside Austin, and we had a bucket of cherries picked fresh from a roadside stand.
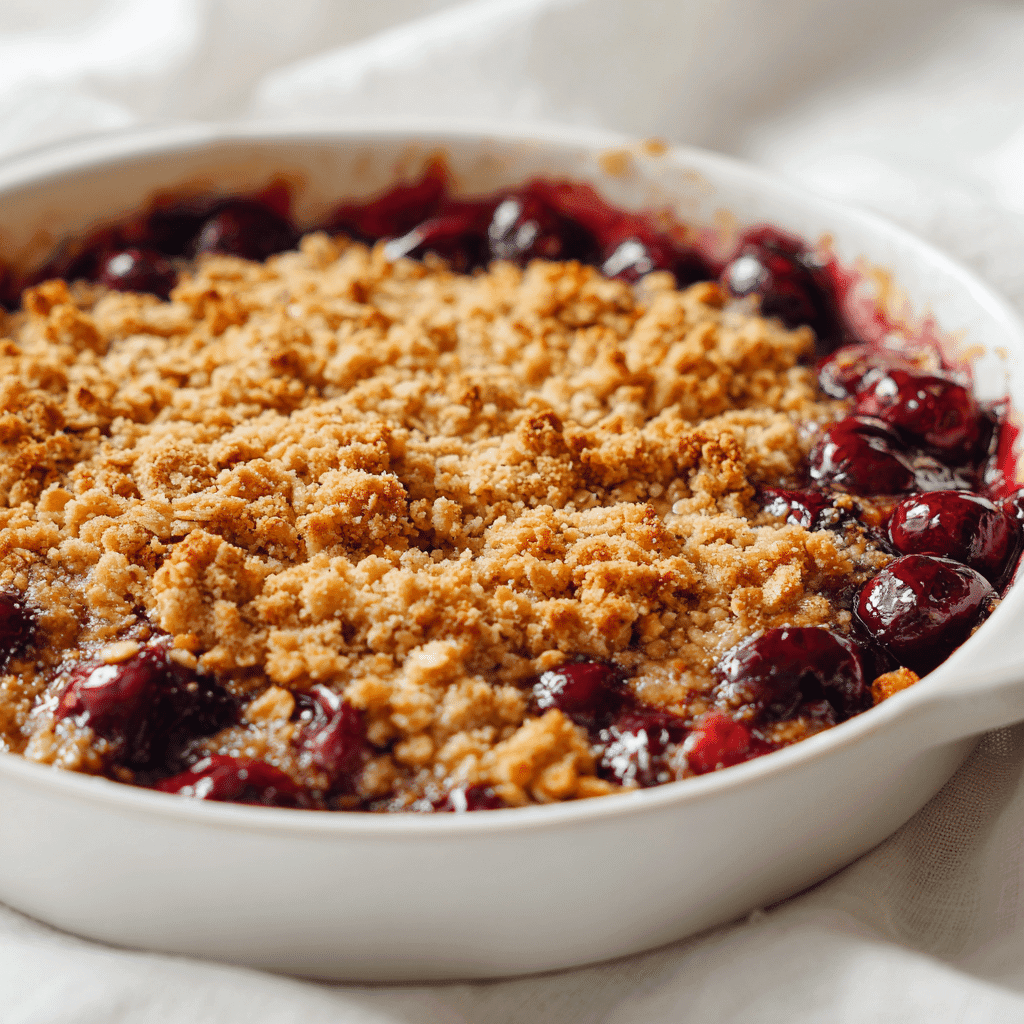
My daughter was maybe five, pitting cherries like it was a game—one in the bowl, one in her mouth. The kitchen smelled like cinnamon, butter, and sunshine by the time we pulled it from the oven. That golden, bubbly crisp with warm, syrupy cherries underneath? Pure magic.
Over the years, I’ve tweaked the recipe just enough to get it perfect every time—rich but not too sweet, and always with that crave-worthy crunch on top. This fresh cherry crisp recipe has become a family favorite, just like our go-to cherry yum yum with Cool Whip.
Ingredients for the Best Fresh Cherry Crisp
Getting this fresh cherry crisp recipe just right starts with two things: ripe, juicy cherries and a topping that actually crisps. Let’s break down what you need to make it unforgettable.
Cherry Filling Essentials
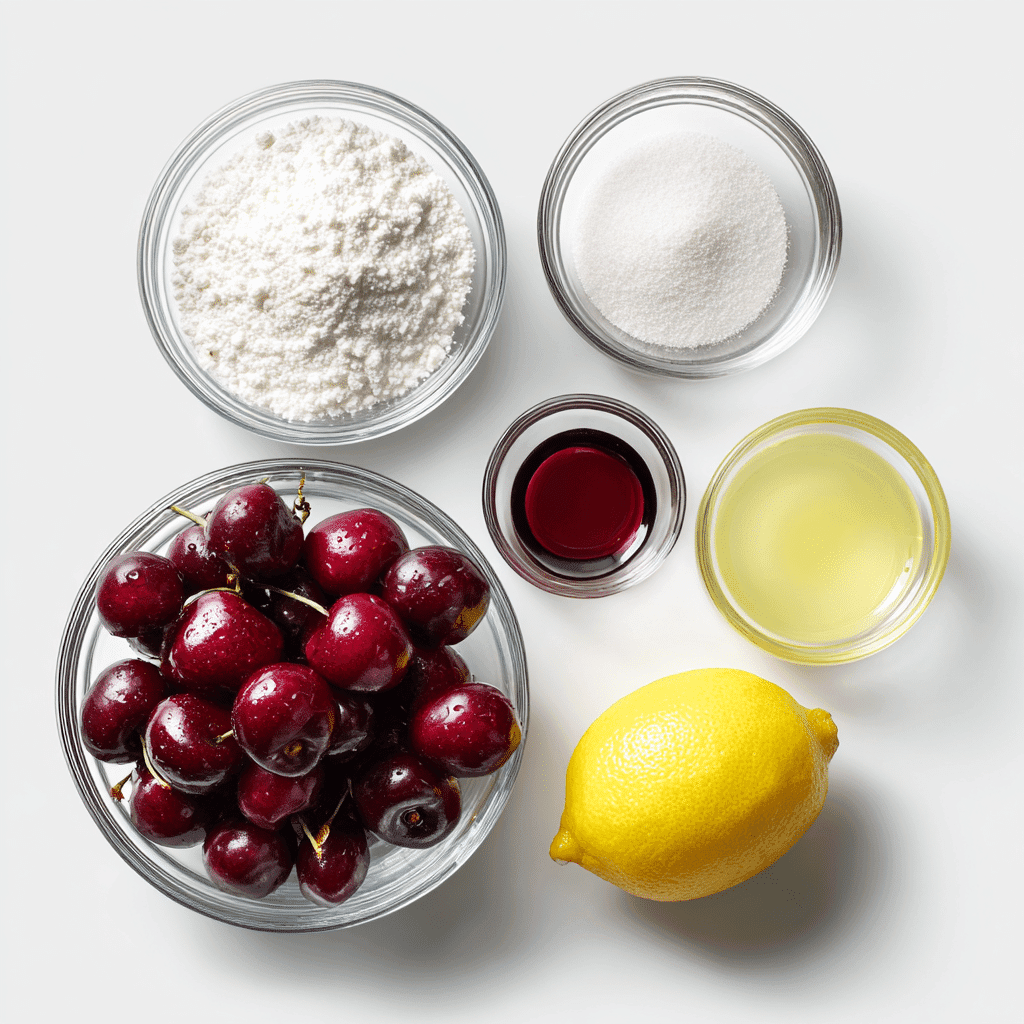
Start with fresh cherries—sweet, tart, or a mix of both. If you’re using frozen or canned, no worries—just make a few adjustments.
- Fresh sweet cherries offer rich flavor; tart cherries add a bright pop
- Lemon juice helps balance sweetness and adds complexity
- Cornstarch thickens the filling without overpowering it
- White or raw cane sugar sweetens the fruit gently
- Optional flavor boosters: a splash of vanilla or almond extract deepens the flavor
If you love cherry-forward desserts, don’t miss this crowd-pleasing cherry yum yum—it’s a chilled favorite that pairs beautifully with summer meals.
Crisp Topping That Works Every Time
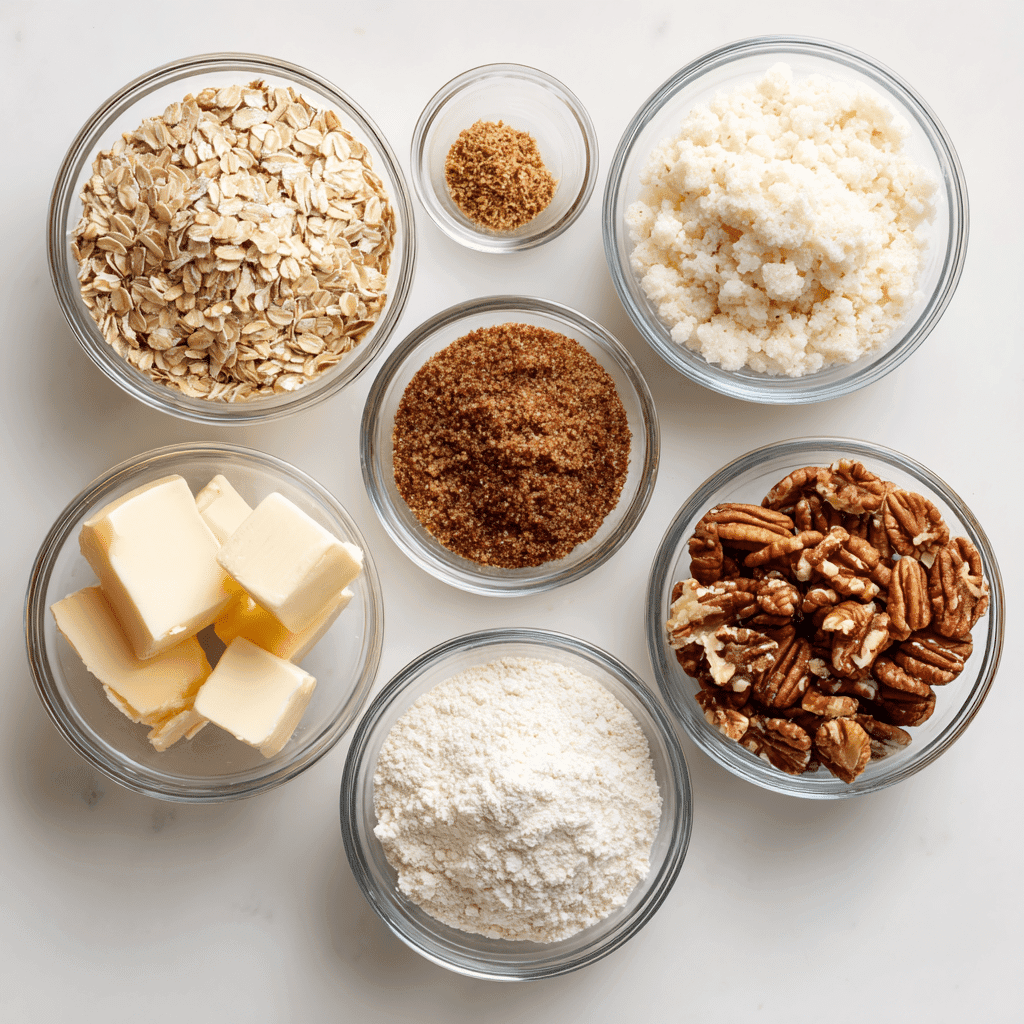
This isn’t one of those soggy-top crisps. You want golden, buttery crunch—and here’s how you get it:
- Old-fashioned rolled oats for texture and structure
- Brown sugar for warmth and caramel notes
- All-purpose flour to bind and crisp up the top
- Cold unsalted butter, cut into cubes—never melted!
- Cinnamon and nutmeg to enhance the cherries naturally
- Optional add-ins: chopped pecans, coconut flakes, or crushed graham crackers
For a no-bake cherry treat, this cherry yum yum with Dream Whip is another solid choice—especially when it’s too hot to turn on the oven.
Whether you’re baking for a crowd or just need a dessert to go with Sunday dinner, having these ingredients on hand means you’re only a few steps away from something really special.
How to Make Cherry Crisp – Step-by-Step
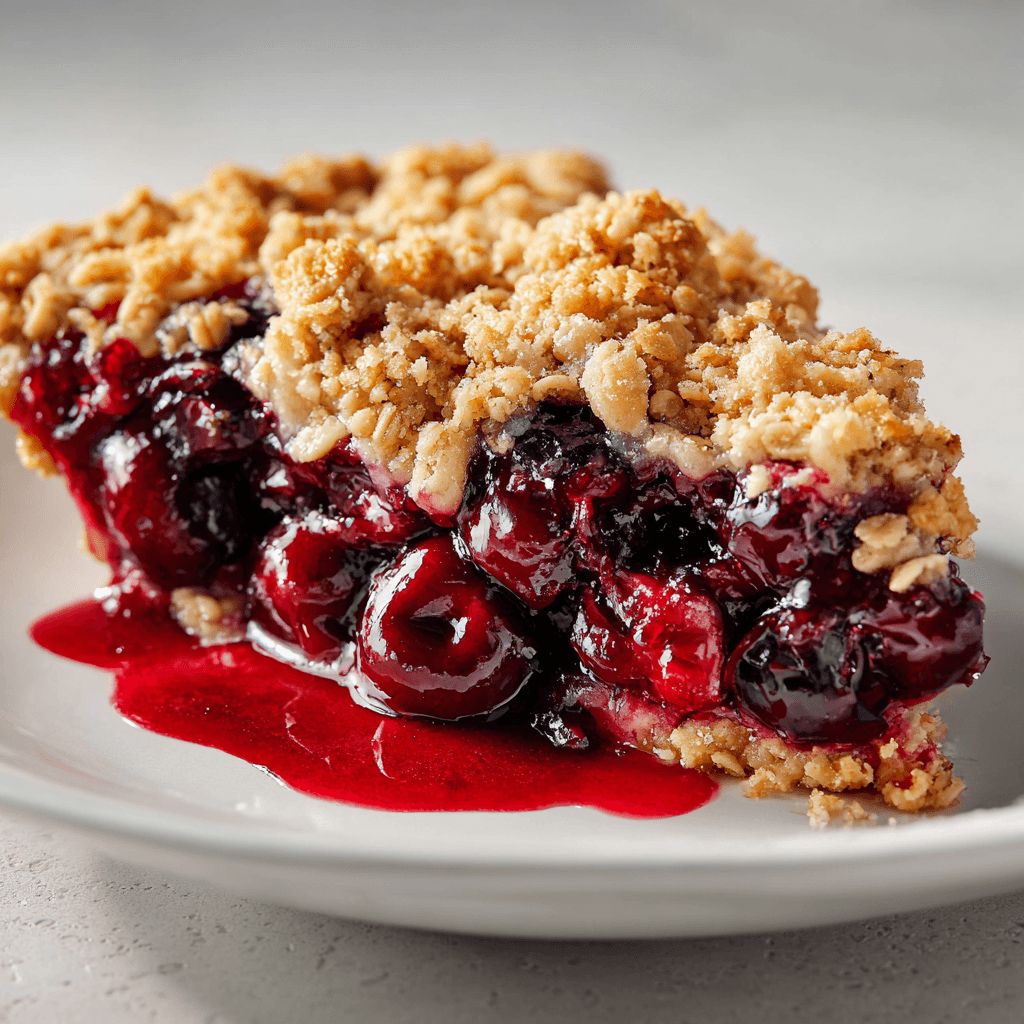
Making this fresh cherry crisp recipe is easy enough for a weeknight, but impressive enough for guests. With just a little prep and the right layering technique, you’ll pull a bubbling, golden crisp out of the oven that’s impossible to resist.
Prepping and Layering
Start by prepping your cherries. If you’re using fresh, you’ll need to pit them—yes, it’s worth it. If you’re using frozen, thaw and drain them first to avoid extra liquid.
- Pit the cherries using a handheld pitter or poke out the pits with a straw
- Toss cherries with lemon juice, sugar, cornstarch, and flavor extract (if using)
- Layer evenly in a buttered 8×8 or 9×9 baking dish—glass or ceramic is ideal
Fresh cherries can vary in sweetness, so adjust sugar as needed. If you’re curious how this compares to other breakfast-style desserts, this blueberry pancake recipe also leans on natural fruit flavor and balance.
Mixing and Baking the Topping
This is the part that makes or breaks your crisp. You want a topping that bakes into golden crumbles, not a soggy cake layer.
- Combine oats, flour, brown sugar, cinnamon, and nutmeg in a mixing bowl
- Cut in cold butter using a pastry cutter or your hands until crumbly
- Evenly distribute topping over the cherry layer—don’t press it down
Bake at 350°F (175°C) for 35–40 minutes, or until the fruit is bubbling and the topping is golden. Let it sit for at least 15 minutes to set up before serving.
This method works especially well when you’re prepping ahead for brunch or dessert—just like our make-ahead-friendly oatmeal protein pancakes, another hearty choice for sweet lovers.
Tips and Flavor Upgrades
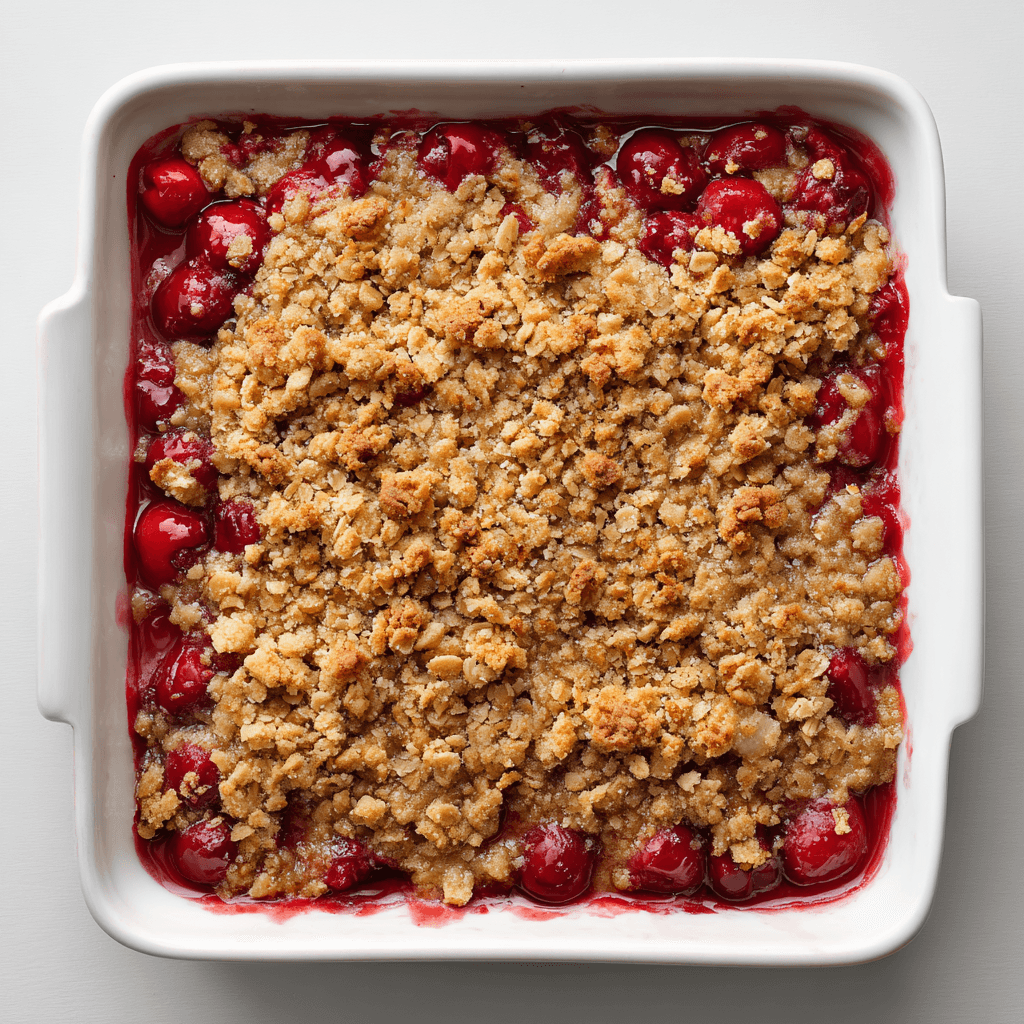
Getting a fresh cherry crisp recipe just right means going beyond the basics. These pro tips and flavor tweaks make the difference between a good crisp and a great one—crispy topping, rich filling, and just the right balance of sweet and tart.
Pro Mistake-Proofing Advice
A few common pitfalls can ruin the texture or overwhelm the flavor of your cherry crisp. Here’s how to steer clear:
- Don’t melt the butter—cut in cold cubes for the crispest topping
- Avoid thick topping clumps by distributing the mixture lightly and evenly
- Use enough cherries to fully cover the bottom of your dish; underfilled crisps bake unevenly
- Taste your cherries first—adjust sugar based on sweetness
Par-baking the fruit layer for 10 minutes (especially if it’s extra juicy) can help avoid sogginess. It’s a smart trick I use with other layered bakes like these sourdough discard cinnamon rolls where moisture balance matters.
Flavor Boosters and Aromatics
When you want that extra “wow,” a few small upgrades go a long way. These additions deepen the cherry flavor and bring warmth to the whole dish.
- Lemon zest adds brightness and contrast to the rich fruit
- Almond extract emphasizes cherry’s natural floral notes
- Bourbon or maple syrup can replace a portion of sugar for complexity
- Toasted nuts or shredded coconut mix well into the topping for added texture
If you’re a fan of flavor-forward desserts, try pairing your crisp with a glass of chilled green tea or this strawberry matcha smoothie—it’s an unexpected combo that works.
Fun Variations and Swaps
One of the best things about this fresh cherry crisp recipe is how easy it is to adapt. Whether you’re avoiding gluten or dairy, or you’re just in the mood to experiment with other fruits, this crisp is endlessly customizable.
Gluten-Free & Dairy-Free Friendly
You don’t need to sacrifice flavor or texture when baking for special diets. A few smart substitutions make this recipe accessible for almost everyone.
- Swap all-purpose flour for a 1:1 gluten-free baking mix or almond flour
- Use rolled oats labeled gluten-free to avoid contamination
- Replace butter with solid coconut oil or vegan margarine
- Serve with dairy-free vanilla ice cream or whipped coconut cream
This flexible approach makes it perfect for potlucks or brunches with varied dietary needs—much like our reliable gluten-free pancakes recipe, which never fails to impress.
Fruit Swaps and Creative Add-ins
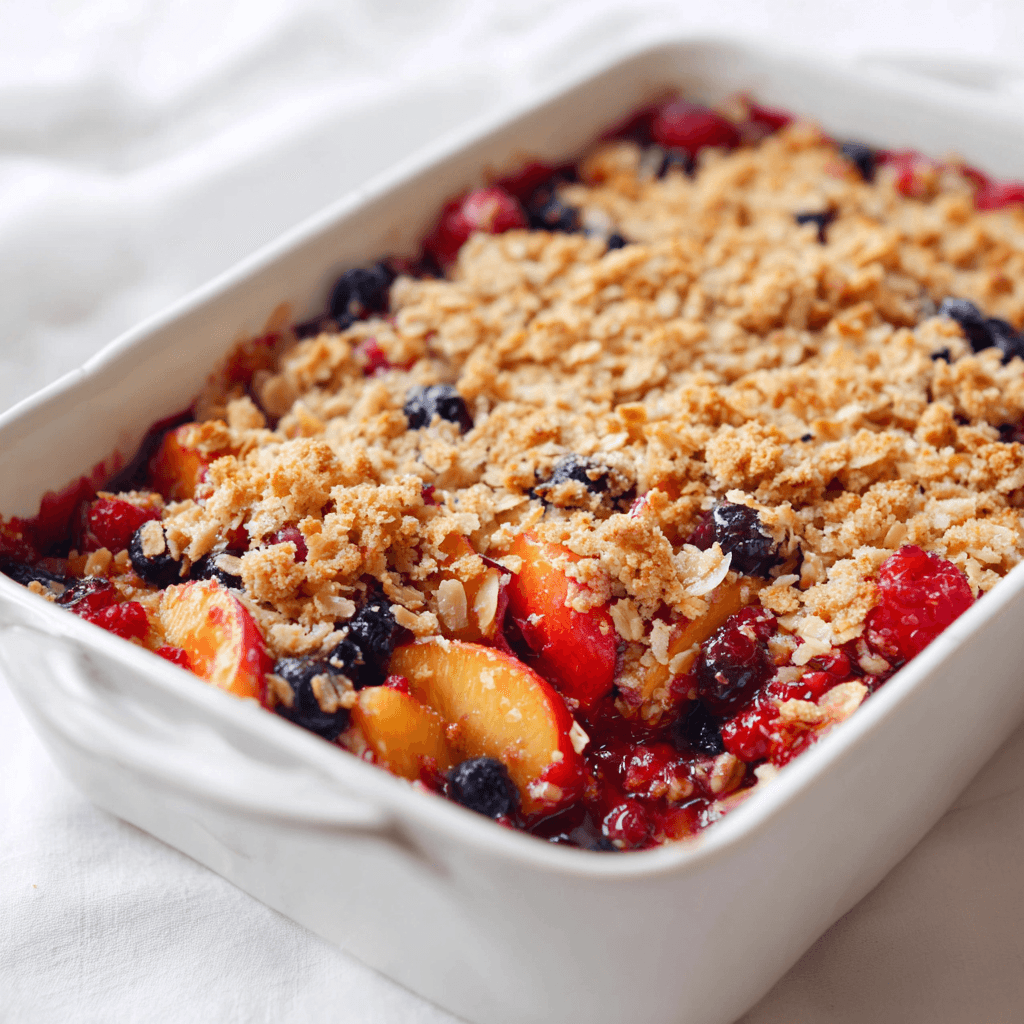
Don’t stop at cherries. This base works beautifully with other fruits or fun toppings.
- Mix in other berries like blueberries, raspberries, or blackberries
- Add diced apples or peaches for more texture and natural sweetness
- Stir chopped nuts (pecans, almonds) into the topping
- Top with granola or crushed vanilla wafers before baking for extra crunch
You can also play around with presentation. Try baking individual crisps in ramekins or muffin tins—just like how the dairy-free pancake recipe can be adapted into fun, kid-friendly minis.
Serving Ideas for Your Cherry Crisp
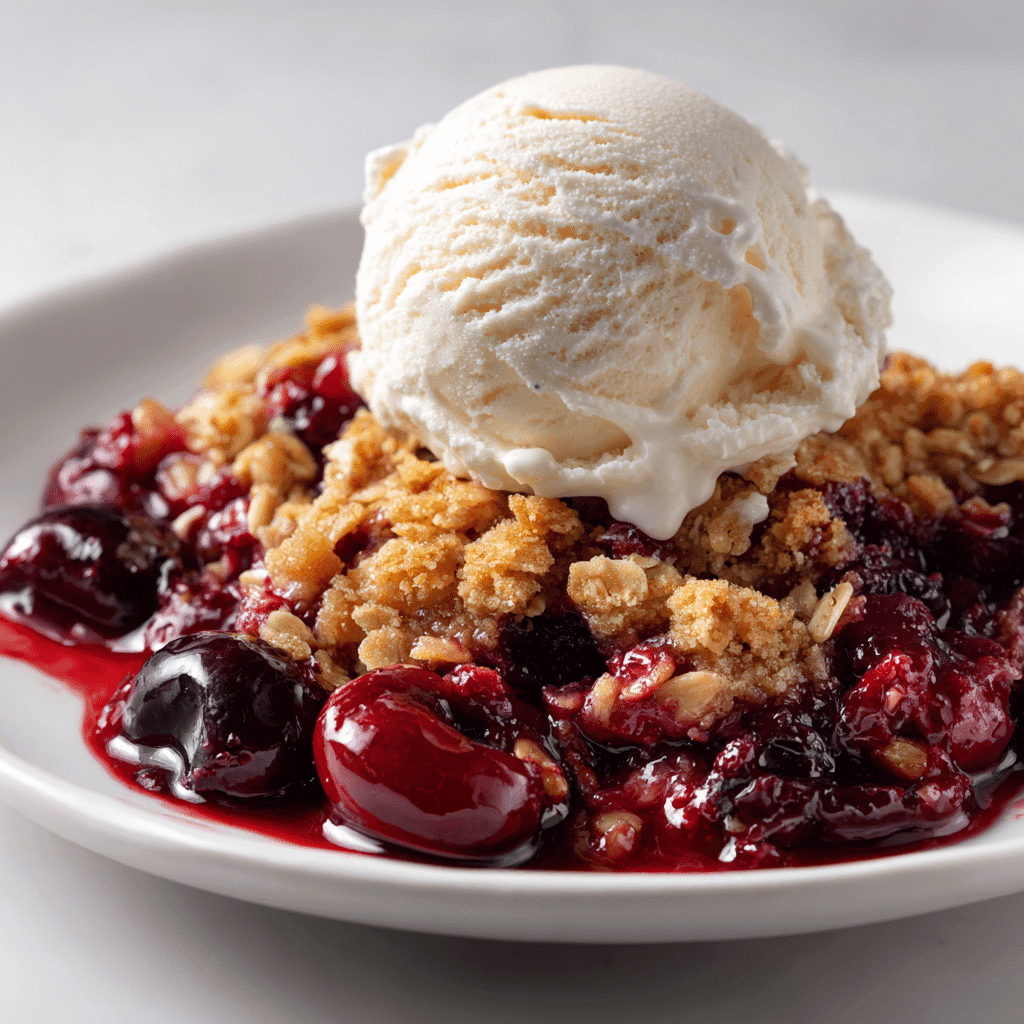
A fresh cherry crisp recipe isn’t just about the bake—it’s about how you serve it. The right finishing touch can turn a simple dish into a showstopper. Whether you’re keeping it classic or getting creative, these serving ideas will elevate every bite.
- Serve it warm straight from the oven with a scoop of vanilla bean ice cream melting into the bubbling cherries
- Chill it and serve cold for a firmer texture and sweeter flavor profile
- Add a dollop of whipped cream or crème fraîche for a rich contrast
- Drizzle with honey or maple syrup for added depth
Want to really wow your guests? Pair your crisp with a creamy scoop of matcha ice cream—it adds an earthy, modern twist that complements the fruit beautifully.
For breakfast-style indulgence, try serving it over Greek yogurt or alongside hot tea. It’s a satisfying and less sugary option that still feels special.
However you serve it, cherry crisp is a dish that invites seconds. It’s comforting, familiar, and a surefire crowd-pleaser from the first bite to the last.
Storage and Make-Ahead Tips
This fresh cherry crisp stores beautifully and can be made ahead—making it the ultimate low-stress dessert for holidays, gatherings, or lazy weekends.
How to Store Cherry Crisp
To keep that topping crisp and the fruit filling fresh, follow these simple guidelines:
- Cool completely before storing to avoid steam-softened topping
- Refrigerate in an airtight container for up to 4 days
- Reheat in the oven at 325°F for 10–15 minutes to restore that golden crunch
- Avoid the microwave—it softens the topping and dulls the flavor
If your fridge is already packed, no worries. This dessert fits neatly into any meal plan, just like our easy cherry yum yum with Dream Whip, another make-ahead gem for busy weeks.
Make It Ahead for Guests
Hosting a dinner or brunch? You can prep this fresh cherry crisp recipe ahead without sacrificing flavor or texture.
- Assemble the filling and topping separately, then store in the fridge up to 24 hours before baking
- Combine and bake fresh when ready for best results
- Freeze unbaked in a disposable aluminum pan, tightly wrapped for up to 2 months
When baking from frozen, add 10–15 minutes to the baking time and cover with foil if the topping browns too quickly.
This strategy is a lifesaver when you’re juggling multiple dishes—just like with Dolly’s chicken and stuffing casserole, another freezer-friendly favorite that brings people to the table every time.
Frequently Asked Questions
What’s the difference between cherry crumble and cherry crisp?
The key difference lies in the topping. A cherry crisp includes oats, which bake up into a textured, crunchy layer. A crumble, on the other hand, leaves out the oats and uses a more cake-like mixture of just flour, sugar, and butter. The crisp has a heartier, rustic feel, while the crumble is softer and more delicate on top. Both are delicious—it just depends on the kind of bite you’re after.
What to do with a bunch of fresh cherries?
Fresh cherries are incredibly versatile. You can make crisps, jams, pies, sauces, or even blend them into smoothies. If you’re overwhelmed with fruit, freeze them pitted for future baking or try whipping up this cherry yum yum for a chilled no-bake option.
Does cherry crisp need to be refrigerated?
Yes. Once cooled, store cherry crisp in the fridge in an airtight container. This keeps the fruit from spoiling and helps maintain freshness. For best results, reheat it in the oven to revive the crisp topping.
What spices enhance cherry crumble flavor?
Cinnamon and nutmeg are classics, but don’t stop there. Almond extract highlights the natural cherry notes, and a touch of clove or cardamom can add unexpected depth. Lemon zest brightens the entire dish without overpowering the fruit.
Conclusion: A Crisp Worth Making Year-Round
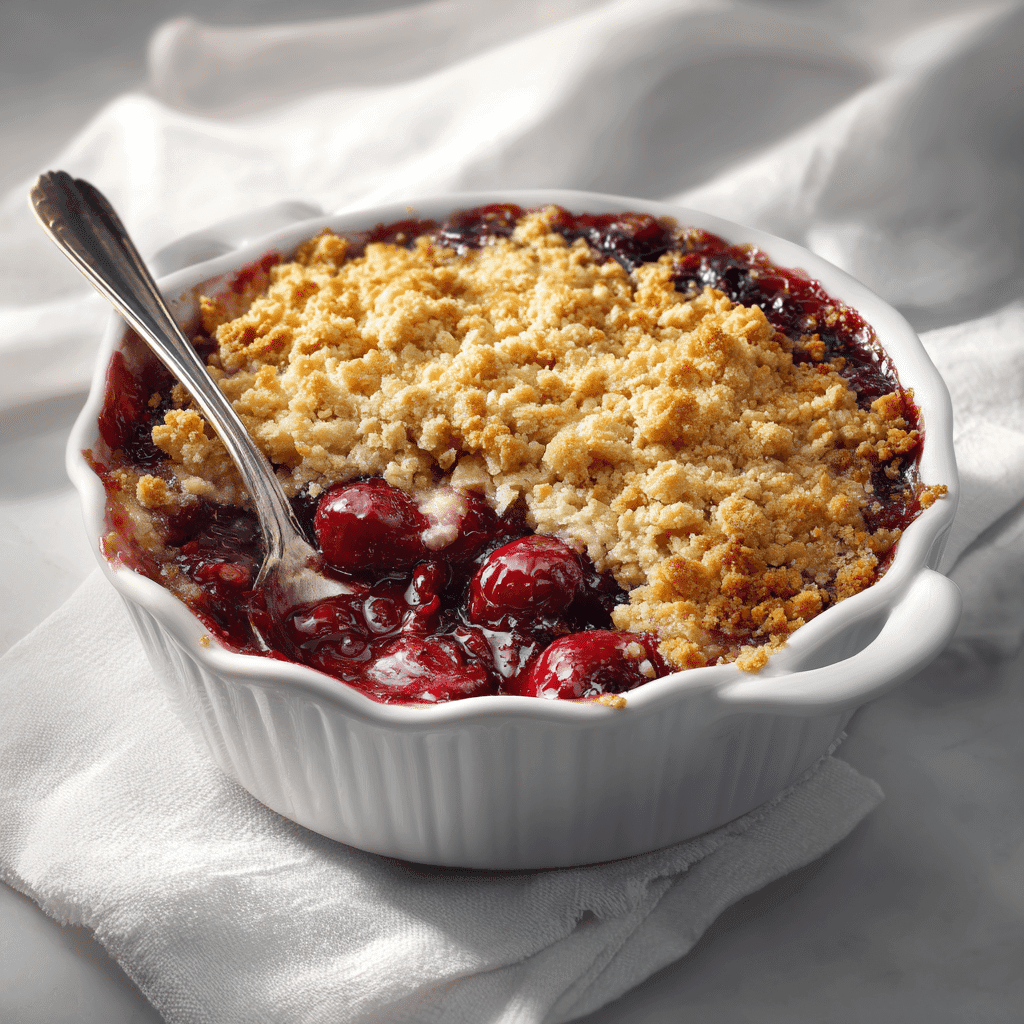
There’s something timeless about a good fresh cherry crisp recipe. It’s the kind of dessert that feels like summer, even in the middle of winter. Whether you’re baking with just-picked cherries or pulling a batch from the freezer on a busy weeknight, this crisp brings warmth, simplicity, and flavor to the table every time.
It’s not fussy. It doesn’t need fancy tools. It’s just honest-to-goodness comfort in a dish—sweet cherries bubbling under a buttery crunch, ready to be topped with a scoop of ice cream or a spoonful of whipped cream.
So go ahead—pit those cherries, preheat the oven, and create something worth remembering. If you’re anything like me, this one won’t just be a recipe—it’ll be a family tradition in the making.
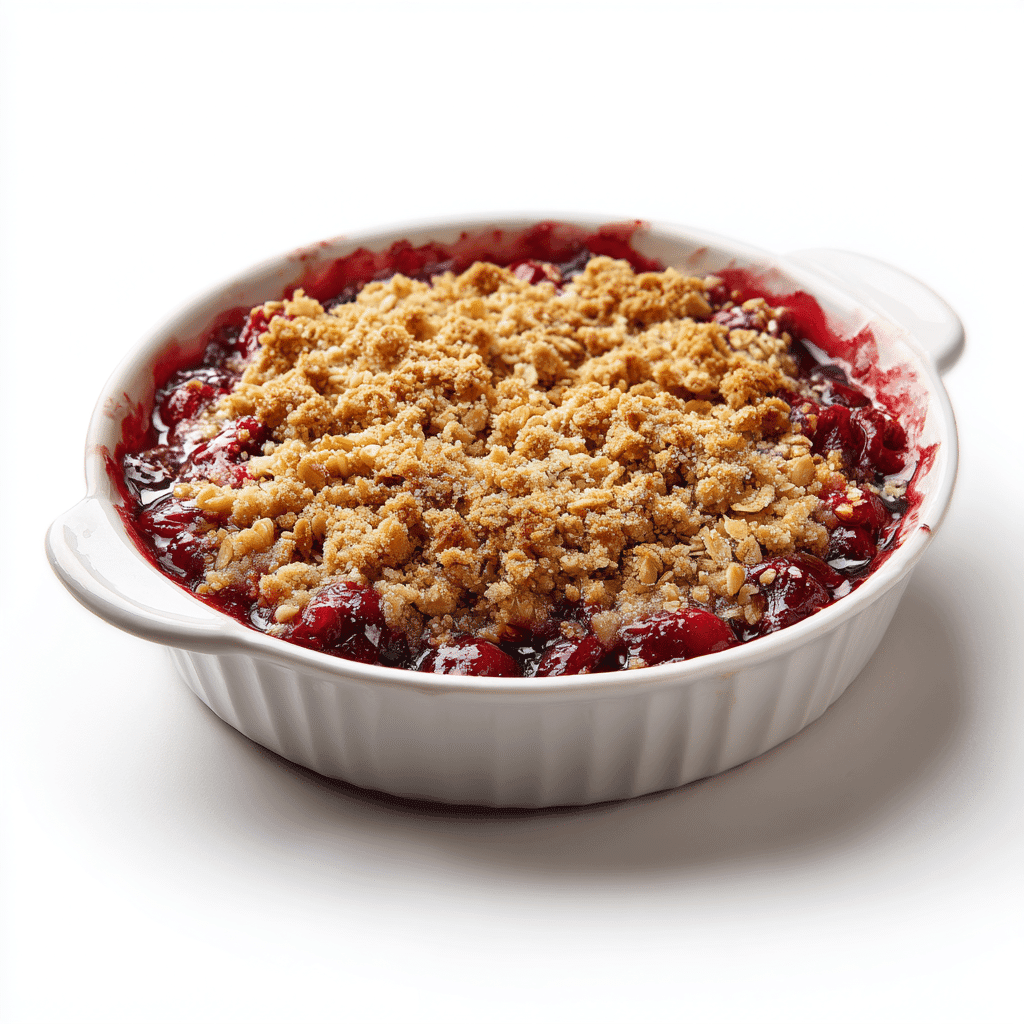
Best Fresh Cherry Crisp
Ingredients
Equipment
Method
- Preheat oven to 350°F (175°C).
- Pit the cherries and toss with lemon juice, sugar, cornstarch, and extract if using.
- Butter an 8×8 or 9×9 inch baking dish, then layer the cherry mixture evenly in it.
- In a bowl, combine oats, flour, brown sugar, cinnamon, and nutmeg. Cut in cold butter until crumbly.
- Evenly sprinkle the topping over the cherry layer—don’t press it down.
- Bake for 35‑40 minutes until fruit is bubbling and topping is golden.
- Let sit at least 15 minutes to set up before serving.
Nutrition
Notes
- Be sure to use cold, cubed butter for the topping (never melted) for best texture.
- If cherries are very juicy, par‑bake the fruit layer ~10 minutes.
- Let crisp rest ~15 min after baking so filling sets.
- To make ahead: assemble filling and topping separately, refrigerate (or freeze unbaked) and bake later.
Tried this recipe?
Let us know how it was!Looking for more Delicious recipes like this? Come hang out with me over on Facebook and Pinterest where I drop new recipes, family favorites, and quick how-to guides almost every day.


