Get ready for an irresistible twist on a classic! These Peanut Butter Rice Krispies Treats are incredibly easy to make, requiring no baking at all. You’ll achieve a perfectly gooey, soft, and chewy texture every single time.
This guide will walk you through creating these delicious, nostalgic treats with a satisfying peanut butter kick, perfect for busy parents and beginners alike. Let’s make some magic in the kitchen!
Table of Contents
Why You’ll Love These Peanut Butter Rice Krispies Treats
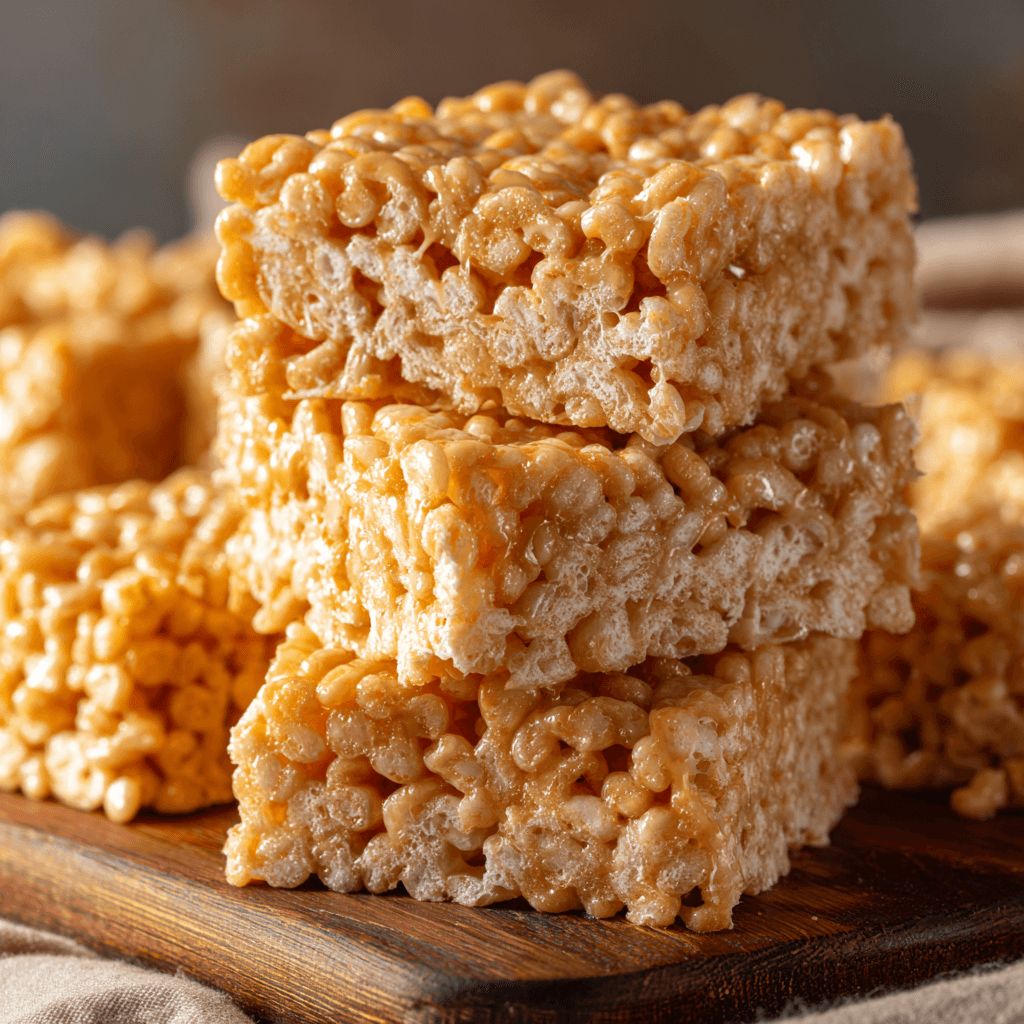
You’ll quickly fall in love with these simple yet sensational Peanut Butter Rice Krispies Treats for so many reasons:
- Quick & Easy: With just 5 ingredients and no oven required, they come together in minutes.
- Perfectly Gooey Texture: Our special method ensures your treats are always soft, chewy, and never hard.
- Irresistible Flavor: The blend of sweet marshmallows and salty peanut butter creates an amazing taste experience.
- Nostalgic Comfort: These treats bring back happy childhood memories with every delicious bite.
- Versatile Treat: They’re perfect for school lunches, parties, or a simple homemade snack.
Ingredients
Gather these essential ingredients to create your batch of delicious Peanut Butter Rice Krispies Treats:
- 4 Tablespoons salted butter: This forms the crucial base, helping to melt the marshmallows and add richness.
- 10 ounce bag mini marshmallows (about 5 cups): The star of the show, providing the signature gooey, chewy texture.
- ½ cup creamy peanut butter: Adds that wonderful nutty flavor and helps bind everything together.
- ½ teaspoon vanilla extract: A touch of vanilla enhances all the other flavors beautifully.
- 6 cups Rice Krispies: The crispy cereal provides the classic crunch and structure.
Notes & Substitutions
- You have a few options to tailor these peanut butter marshmallow bars to your taste. Mini marshmallows melt more evenly and quickly, but large marshmallows chopped into smaller pieces also work.
- For the peanut butter, creamy varieties give a smooth finish, while crunchy peanut butter adds extra texture.
- Salted butter is recommended as it balances the sweetness perfectly. Don’t skip the vanilla extract; it really elevates the flavor profile.
- Feel free to swap original Rice Krispies for Cocoa Krispies or another favorite puffed cereal for a fun variation.
Equipment
You won’t need many specialized tools for these no-bake peanut butter treats. Just a few kitchen essentials will do the trick:
- Large Saucepan or Pot: Essential for melting the butter and marshmallows.
- 9×9-inch Baking Dish: The perfect size for thick, chewy bars.
- Nonstick Cooking Spray or Parchment Paper: For easy removal of your treats.
- Rubber Spatula: Ideal for stirring and pressing the mixture.
Instructions For Peanut Butter Rice Krispies Treats
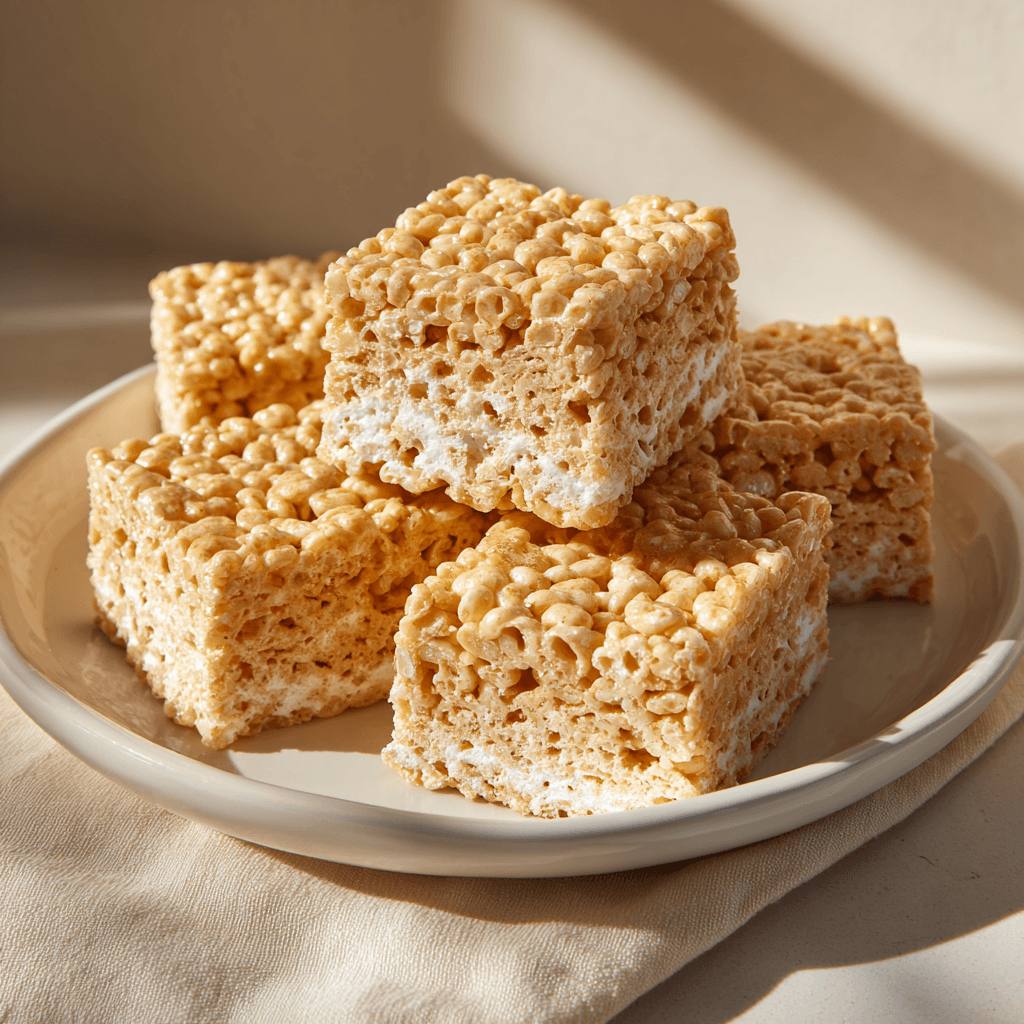
Creating these delightful Peanut Butter Rice Krispies Treats is incredibly straightforward. Follow these steps for perfect results every time:
- Prepare your dish: Spray a 9×9-inch casserole dish with nonstick cooking spray. Alternatively, line it with parchment paper, leaving an overhang on the sides for easy lifting.
- Melt the butter: In a large saucepan or pot, melt the salted butter over low heat. Melting slowly prevents the butter from burning and ensures a smoother base.
- Add marshmallows: Once the butter has fully melted, keep the heat on low and add the entire bag of mini marshmallows to the pan.
- Incorporate peanut butter: As the marshmallows begin to soften and melt, stir in the creamy peanut butter.
- Stir constantly: Continue to stir the mixture constantly until the marshmallows and peanut butter are fully combined and melted. This only takes a couple of minutes. Make sure the heat remains low to prevent burning.
- Remove from heat: Once combined, turn off the heat and remove the pan from the stove. Stir in the vanilla extract until it’s well incorporated.
- Add Rice Krispies: Quickly add the 6 cups of Rice Krispies cereal to the saucepan. Stir gently but thoroughly until the cereal is completely coated with the gooey marshmallow-peanut butter mixture. It will be sticky!
- Press into dish: Pour the entire mixture into your prepared casserole dish. It might look loose. Lightly spray your hands or a rubber spatula with nonstick cooking spray and gently press the mixture evenly into the dish. Avoid compacting too much.
- Set and serve: Allow the homemade peanut butter cereal bars to set for at least 30-45 minutes at room temperature. Once firm, slice them into squares and enjoy!
Pro Tips & Troubleshooting
- Ensuring your Peanut Butter Rice Krispies Treats come out perfectly gooey every time is simple with these pro tips.
- Always use low heat when melting the butter and marshmallows. High heat can cause the sugar in the marshmallows to crystalize, resulting in hard, brittle treats.
- Stir constantly during the melting process to prevent anything from sticking or burning to the bottom of the pan.
- For easy pressing into the dish, lightly grease your hands or a rubber spatula with cooking spray.
- Avoid pressing the mixture down too firmly, as over-compacting can make the treats dense instead of light and airy.
- Finally, always use fresh marshmallows; stale ones won’t melt as smoothly.
Scientific American provides further insight into the sweet science behind marshmallows and sugar crystallization.
Serving, Storage, & Variations
These delightful crispy peanut butter squares are incredibly versatile, from how you serve them to how you store them, and even how you customize them.
Serving Suggestions
Serve these delicious treats at room temperature for the best texture. They pair perfectly with a tall, cold glass of milk, making them an ideal afternoon snack or simple dessert.
Storage
Store your finished Peanut Butter Rice Krispies Treats in an airtight container at room temperature. They are best enjoyed within two days to maintain their optimal gooey freshness. If they lose a little softness, a quick 10-second zap in the microwave can revive their chewy texture.
Proper storage in an airtight container helps prevent moisture loss, which is a key factor in why marshmallows go stale.
Variations
Get creative with your no-bake treats! Add a handful of mini chocolate chips or colorful sprinkles to the mixture before pressing it into the pan. Drizzle melted chocolate or even some extra peanut butter over the top once they’ve set for an extra decadent touch.
If you prefer thinner bars, use a 9×13-inch baking pan instead of a 9×9-inch. You can also experiment with different cereal flavors like Fruity Pebbles or Cinnamon Toast Crunch for unique twists.
Nutrition
Here’s an estimated nutritional breakdown for one serving of these tasty peanut butter Rice Krispies treats. Please remember that these values are approximate and can vary based on specific brands and exact measurements used in your kitchen.
| Nutrient | Amount |
|---|---|
| Calories | 321 kcal |
| Carbohydrates | 45 g |
| Protein | 6 g |
| Fat | 14 g |
| Sodium | 255 mg |
| Fiber | 1 g |
| Sugar | 21 g |
Disclaimer: Nutritional information is an estimate based on standard ingredient calculations. It is not intended as medical advice.
Frequently Asked Questions
Can I use other cereals besides Rice Krispies?
Absolutely! Feel free to experiment with other puffed cereals like Cocoa Krispies or crispy corn cereal for a different flavor.
What if I want thinner bars?
For thinner Peanut Butter Rice Krispies Treats, simply press the mixture into a larger 9×13-inch baking pan. The cooking time remains the same.
Why did my treats turn out hard?
Your treats likely became hard because the marshmallow mixture was cooked over too high heat, causing the sugar to crystallize. Always use low heat and stir constantly.
Conclusion
There you have it – a foolproof recipe for the most delightful Peanut Butter Rice Krispies Treats! This easy, no-bake method guarantees a consistently gooey, chewy, and irresistibly delicious snack.
Perfect for any skill level, these treats are sure to become a family favorite. Give them a try today and experience the joy of homemade goodness. We can’t wait to hear how much you love these; share your creations and comments below!
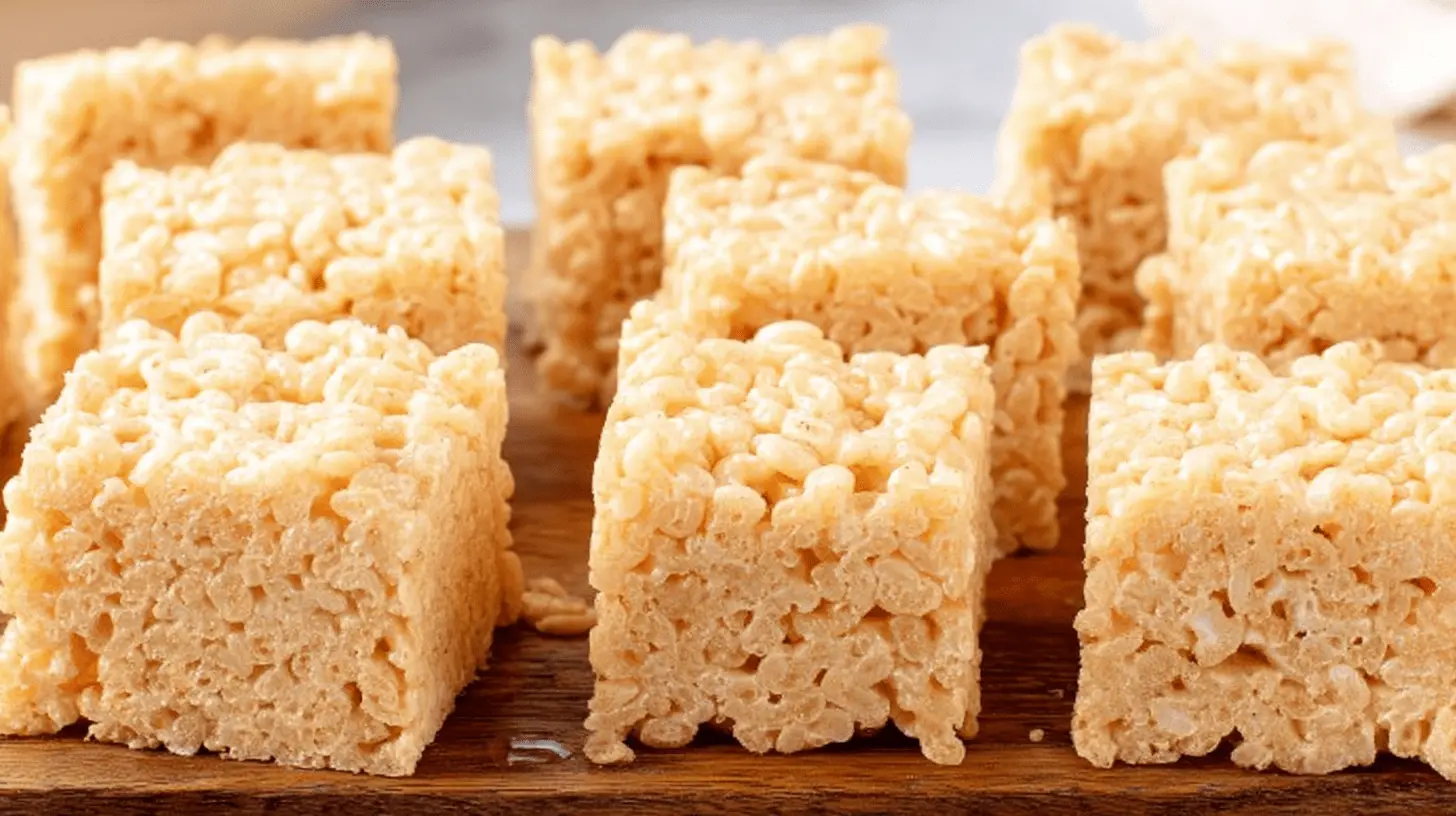
Peanut Butter Rice Krispies Treats
Ingredients
Equipment
Method
- Spray a 9×9-inch baking dish with nonstick spray or line with parchment paper.
- In a large saucepan over low heat, melt the butter.
- Add marshmallows and stir until partially melted. Stir in peanut butter and continue stirring until fully melted and smooth.
- Remove from heat and stir in vanilla extract.
- Quickly add Rice Krispies and gently stir until evenly coated.
- Transfer to prepared dish and press evenly using greased hands or a spatula. Do not compact too much.
- Let set at room temperature for 30–45 minutes before slicing into squares and serving.
Nutrition
Notes
- Use low heat when melting to avoid hard treats.
- Mini marshmallows melt best.
Tried this recipe?
Let us know how it was!Looking for more comfort recipe like this? Come hang out with me over on Facebook and Pinterest where I drop new recipes, family favorites, and quick how-to guides almost every day.


2 thoughts on “Gooey Peanut Butter Rice Krispies Treats (Easy No-Bake Recipe)”